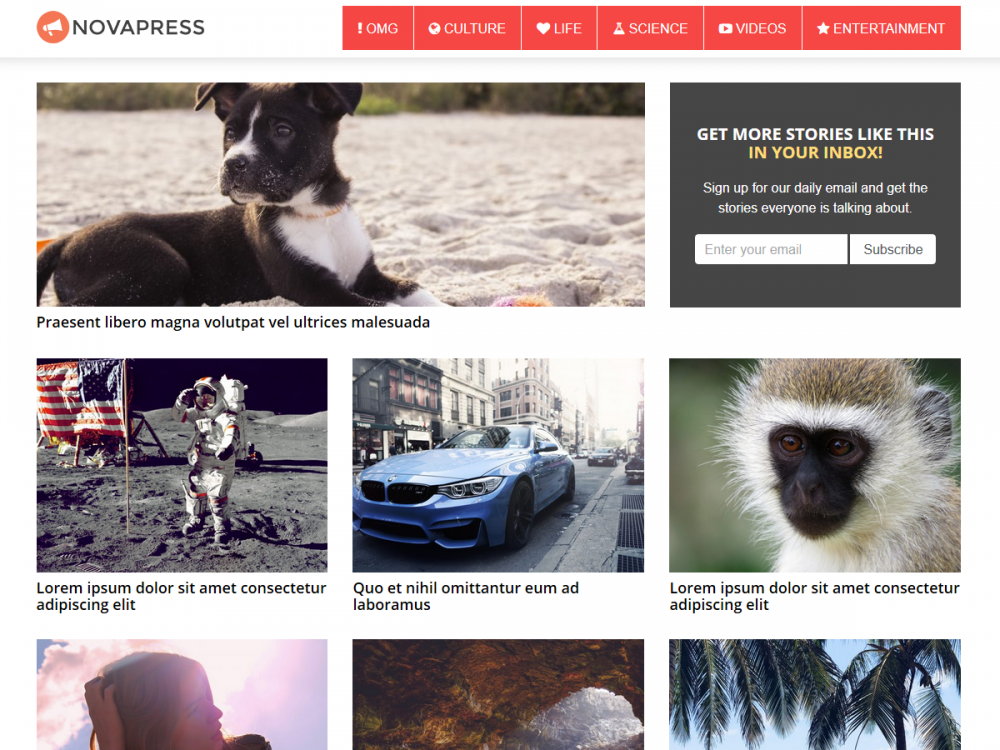
Have you ever wanted to create a viral news site like Viral Nova?
With our Novapress WordPress theme, it’s easy to set up and start posting engaging content. Whether you are posting the latest trends or funniest quizzes, this theme is perfect for popular content with eye-catching headlines and graphics. The Novapress Pro Viral News theme and tutorial lets you launch a fully functional viral site in no more than 24 hours. It comes with powerful sharing buttons with multiple ad locations.
Everything you need in an easy-to-use package. Just browse the web, pick what’s hot, embed on your site and let it spread virally. Simply follow the steps in the tutorial, and you will be ready to launch in no time. The WordPress Customizer offers quick and easy customization of the theme colors. Along with customizing theme colors you can enable/disable Facebook comments, upload your logo and edit the copyright text.
Highlight trending news using the WordPress Popular Posts plugin, display trending articles in your sidebar based on specific criteria.
Utilizing the Mailchimp for WordPress plugin, you can prompt users to sign up for newsletters and daily updates from your blog. NovaPress comes with two signup form sections; below the header and above the footer.
Monetization is made easy whether you want to add Google Adsense, Buy Sell Ads, banners ads or any other method. The NovaPress theme prepares your blog with pre-defined ad spots.
The theme welcome page on WordPress explains how to quickly and easily set up the Novapress theme. With direct links to our support site, we are there to assist you in case you have any questions.
Tutorial
Step 1: Install WordPress
If you have not already installed WordPress on your hosting account, log into cPanel on your account, enter the necessary credentials and install WordPress. You will be redirected to a confirmation page containing your new credentials and a link to the new add-on.
Step 2: Log into WordPress
Log into your new WordPress account admin panel using the previously entered credentials on installation.
Step 3: Change theme to Novapress Pro
From the dashboard, click “change your theme completely” or choose “Appearance” then “Themes” from the side bar menu. Here, you will see all the themes you have currently installed in your application. To add another one, simply click the “Add New” button.
Step 4: Upload Novapress Pro Theme
A) Upload and Installation: After choosing “Add New,” select the “Upload” button in the same location to upload the new theme. Upload the zip file of the Novapress Pro theme and click “Install Now.”
B) Activation: This will then direct to a confirmation page where the option to Activate the theme becomes available. Click “Activate” and you will be redirected to the theme page where Novapress Pro is now activated.
Step 5: Install and Activate the Recommended Plugins
A) Install Plugins: After theme Activation, WordPress will suggest recommended plugins for the Novapress theme. Install all recommended plugins by choosing the “Begin Installing Plugins” link that will redirect to the list of recommended plugins. Select all by clicking the empty checkbox in the header, under install, and click “Apply.” You will be redirected to to a confirmation page.
B) Activate Plugins: Though already installed, the plugins must be activated. You will receive a header notification noting that the recommended plugins are not activated. Choose “Begin Activating Plugins” and repeat actions in Step A: Select all by clicking the empty checkbox in the header, choose “Activate” in the drop-down menu, and click “Apply.” You will be redirected to to a confirmation page.
Step 6: Configure Plugins
In order for the NovaPress theme to function as intended, several of the required plugins must be configured. They are:
- Jetpack for WordPress
- Mailchimp for WordPress
- Social Pug
On the side bar menu, under Appearance, visit “Getting Started with NovaPress Pro” and find “Configuration instructions” under “Step 2 – Configure Plugins” or follow this link: http://support.themely.com/knowledgebase/novapress-configure-plugins/ You will find instructions to configure each plugin through Jetpack. Follow the enclosed instructions and then proceed to back to “Getting Started with NovaPress Pro” for Step 7.
Step 7: Import Demo Content (Optional)
The next step is to import the content from our live demo site, http://demo.themely.com/novapress/. This is not required, however, it is recommended import the widgets that will add the ad spots, newsletter forms and trending posts. You can then tweak them as needed.
Choose Step 3 – Import Demo Content, “Demo Import instructions” or follow this link: http://support.themely.com/knowledgebase/novapress-import-demo-content/ Download the demo content to get the files you need, then follow the enclosed instructions to install the importer plugins and import the content.
Step 8: Customize Your Theme
Access “Customize” under “Appearance” on the side bar menu. This will enable the menu and allow you to upload your logo. You can also configure the theme colors, footer and enable/disable Facebook comments. Simply choose your preferred options under each section and preview the changes to the right of the menu. Don’t forget to “Save and Publish” your changes at the top right of the side menu.
Step 9: Preview Your Website
Preview your website by clicking the website name on the top left of the screen.
Step 10: Delete Widgets
After previewing your website, you may delete the widgets you don’t need under “Appearance” in “Widgets” on the side bar. You can then preview the changes.
That’s it, you’re done! Begin posting your own content.
If you require further support visit http://support.themely.com
